Installation
Ensure proper location‚ venting‚ and electrical setup. Follow local regulations and manufacturer guidelines for safe installation. Consult the manual for detailed instructions on flue systems and clearance requirements.

1.1 Overview of Installation Process
The installation of an Englander pellet stove requires careful planning and adherence to safety guidelines. Begin by selecting a suitable location‚ ensuring proper clearance from combustible materials and proximity to electrical and venting systems. The stove must be installed in accordance with local building codes and regulations‚ including those for mobile homes‚ which must comply with HUD standards. A qualified technician should handle the installation to ensure compliance with safety standards. Key steps include assembling the venting system‚ connecting electrical components‚ and ensuring proper flue installation. Refer to the manual for specific instructions on flue system requirements and clearance guidelines. Always consult local authorities for permits and inspections. Proper installation ensures optimal performance‚ safety‚ and longevity of the stove. Follow the manufacturer’s instructions meticulously to avoid potential hazards and maintain warranty validity.
1.2 Site Preparation Requirements
Before installing your Englander pellet stove‚ ensure the site meets all necessary preparation requirements. Choose a location with adequate clearance from flammable materials‚ such as curtains‚ furniture‚ and walls. The area should be level and sturdy to support the stove’s weight. For mobile homes‚ installation must comply with HUD standards and local regulations. Ensure access to a reliable electrical supply and a suitable location for venting components. Clear the space of any obstructions to facilitate smooth installation. Properly prepare the floor with heat-resistant material if necessary. Ensure all local building codes are reviewed and adhered to‚ including obtaining any required permits. Correct site preparation is crucial for safe and efficient stove operation‚ preventing potential hazards and ensuring compliance with safety standards. Always follow the manufacturer’s guidelines and consult local authorities if unsure about specific requirements.
1.3 Venting System Installation
Proper installation of the venting system is essential for safe and efficient operation of your Englander pellet stove. Use only approved‚ listed pellet venting materials‚ such as stainless steel or venting components specifically designed for pellet stoves. Begin by determining the best exit point for the vent‚ either through the wall or roof‚ ensuring compliance with local building codes. For horizontal installations‚ maintain a minimum clearance of 6 inches from combustible materials. Vertical installations require proper support and alignment to avoid leaks or damage. Ensure all connections are secure and sealed to prevent gas leaks. Install a venting cap to protect against weather and wildlife. Always follow the manufacturer’s venting configuration guidelines and consult a professional if unsure. Proper venting ensures optimal performance and safety‚ while incorrect installation can lead to hazardous conditions. Verify all connections before finalizing the setup.
1.4 Electrical Connections Setup
Setting up the electrical connections for your Englander pellet stove requires attention to detail to ensure safety and functionality. Begin by ensuring your home has a dedicated 120-volt circuit for the stove‚ as specified in the manual. This circuit should be separate from other high-power appliances to prevent overloading. Use a 14-gauge wire‚ as recommended‚ to connect the stove to the electrical supply. Locate the terminal block on the stove’s control board‚ and securely attach the wires according to the manual’s wiring diagram. Ensure all connections are tight and properly insulated to prevent electrical hazards. Avoid overloading the circuit‚ as this can lead to malfunctions or safety risks. If you’re unsure about any part of the process‚ consult a licensed electrician to ensure a safe and correct installation. Proper electrical setup is crucial for the stove’s performance and your safety.
Operation
Operating your Englander pellet stove involves properly ensuring fueling‚ maintaining correct temperatures‚ and regular monitoring for optimal performance. Always follow safety guidelines and manufacturer instructions for efficient and safe operation.
2.1 First-Time Startup Guide

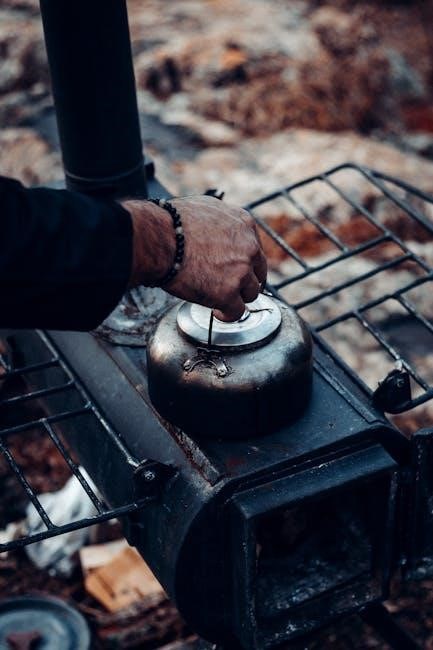
To initiate the first-time startup of your Englander pellet stove‚ ensure all connections are secure and the unit is properly installed. Begin by plugging in the stove and ensuring the circuit breaker is on. Open the pellet hopper lid and pour in the recommended type and quantity of pellets. Close the lid firmly to maintain proper pressure. Next‚ turn the control knob to the “Start” position. The igniter will activate‚ and the stove will begin the ignition process. Allow the stove to run for 30 minutes to ensure a proper burn cycle. Monitor the flames and temperature to ensure everything operates smoothly. After the initial startup‚ adjust settings as needed for optimal performance. Always refer to the manufacturer’s instructions for specific startup procedures and safety guidelines.
2.2 Daily Operation Tips
For optimal performance of your Englander pellet stove‚ follow these daily operation tips. Always ensure the pellet hopper is filled to the recommended level before starting the stove. Check the airflow settings and adjust them based on the fuel type and burn rate. Clean the burn pot and heat exchanger daily to maintain efficiency and prevent residue buildup. Monitor the stove’s temperature and adjust the feed rate as needed to achieve the desired heat output. Keep the venting system clear of obstructions to ensure proper draft. Avoid using wet or damaged pellets‚ as they can cause poor combustion and maintenance issues. Finally‚ at the end of the day‚ turn down the stove to a low setting to maintain a consistent temperature without wasting fuel.
2.3 Adjusting Heat Output
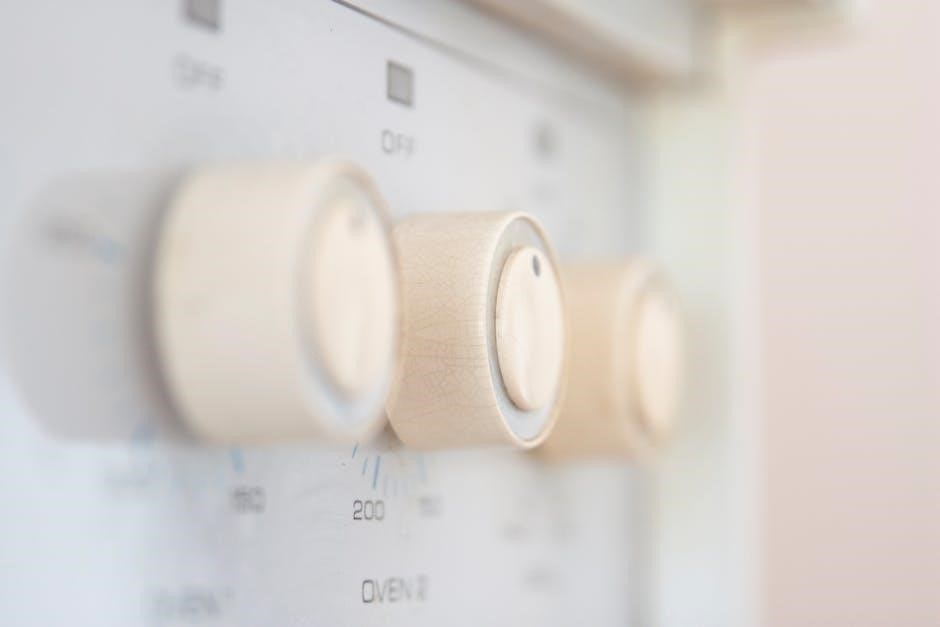
To adjust the heat output of your Englander pellet stove‚ start by modifying the feed rate setting. A higher feed rate increases heat production‚ while a lower setting reduces it. Use the control panel or remote to make these adjustments. Ensure the air intake damper is properly set to maintain efficient combustion. For precise control‚ monitor the stove’s temperature display and adjust the feed rate accordingly. Avoid sudden large changes‚ as this can affect performance stability. Regularly check the pellets’ quality‚ as denser pellets produce more heat. Always refer to the user manual for specific guidance on adjusting settings for your model. Proper adjustments ensure consistent heating and optimal fuel efficiency.
2.4 Monitoring Performance
Regularly monitoring your Englander pellet stove’s performance ensures optimal operation and safety. Start by checking the flame appearance—Yellow or orange flames indicate proper combustion‚ while a dull red flame may signal an issue. Use the control panel to monitor temperature levels and ensure they align with your desired settings. Check the venting system for any blockages or damage‚ as this directly affects performance and safety. Listen for unusual noises‚ such as rattling or grinding‚ which could indicate worn or loose parts. Inspect the burn pot and heat exchanger for ash buildup‚ as excessive accumulation can reduce efficiency. Use the provided LED indicators or error codes to identify potential issues early. Schedule annual professional inspections to ensure all components are functioning correctly; Consistent monitoring helps maintain efficiency‚ safety‚ and longevity of your pellet stove.

Maintenance
Regular maintenance ensures your Englander pellet stove operates efficiently and safely. Clean the venting system‚ inspect the burn pot‚ and check the heat exchanger for damage. Schedule professional inspections annually to maintain optimal performance and warranty validity. Always turn off power before servicing and follow manufacturer guidelines to avoid hazards. Consistent upkeep prolongs the stove’s lifespan and ensures reliable heating. Keep all components free from debris and dust for smooth operation.
3.1 Routine Cleaning Procedures
Regular cleaning is essential for optimal performance and safety. Start by turning off the stove and allowing it to cool completely. Remove ashes from the burn pot and ash pan using a shovel and dustpan. Use a soft brush to clean the heat exchanger and venting system. Inspect and clean the glass window with a gentle glass cleaner. Vacuum the interior‚ paying attention to crevices and electrical components. Clean the exterior with a damp cloth to remove dust and stains. Check the gasket seals for wear and replace them if necessary; Clean or replace the air intake filter as recommended. Regularly inspect the vent pipe for blockages or damage. Always wear gloves to protect hands from sharp edges and dust. Refer to the manufacturer’s guide for specific cleaning tools and techniques to ensure safety and efficiency. Consistent cleaning prevents malfunctions and ensures a safe‚ efficient operation. Maintain a cleaning schedule to prolong the stove’s lifespan.
3.2 Ash Removal Techniques
Ash removal is crucial for maintaining efficiency and safety. Allow the stove to cool completely before starting. Use a sturdy shovel to scoop ashes from the burn pot into a metal ash pan or container. Avoid using plastic containers‚ as they can melt or ignite. Always wear heat-resistant gloves and a dust mask to protect against burns and ash inhalation. Scrape the burn pot thoroughly to remove all residue. Inspect the ash pan for damage and replace it if necessary. Dispose of ashes in a fireproof container or spread them on non-flammable surfaces‚ away from combustible materials. Do not dispose of ashes in compost or near vegetation‚ as they may contain harmful chemicals. Clean the ash pan with a stiff brush and mild detergent. Regular ash removal prevents buildup and ensures proper airflow. Follow local regulations for ash disposal to minimize environmental impact. Always handle ashes with care‚ as they may retain heat long after the stove is turned off.
3.3 Lubrication of Moving Parts
Regular lubrication of moving parts ensures smooth operation and extends the lifespan of your Englander pellet stove. Focus on the auger motor‚ gear motor‚ and any other moving components. Use a high-quality‚ silicone-based lubricant specifically designed for high-temperature applications. Apply a small amount to the moving parts every 1-2 months or as needed. Avoid using petroleum-based products‚ as they can degrade at high temperatures. Turn off the stove and allow it to cool before lubricating. Wipe away any excess lubricant with a clean cloth to prevent dust buildup. Proper lubrication reduces friction‚ prevents wear‚ and ensures consistent performance. Always refer to your specific model’s manual for exact locations and lubrication intervals. Regular maintenance helps maintain efficiency and reliability‚ ensuring your stove operates at peak performance throughout the heating season.

Troubleshooting
Troubleshooting your Englander pellet stove involves identifying issues like ignition failures‚ poor burn quality‚ or error codes. Always start by checking fuel quality‚ air flow‚ and electrical connections. Refer to the manual for specific solutions or contact customer support for assistance. Regular maintenance can prevent many common issues.

4.1 Common Issues and Solutions
Common issues with Englander pellet stoves include ignition failure‚ low heat output‚ or inconsistent burning. Check the pellet quality‚ ensuring they are dry and properly rated. Verify that the hopper is filled and the auger is functioning. Clean the burn pot and venting system regularly to maintain proper airflow. If the stove shuts off unexpectedly‚ inspect the electrical connections and ensure the circuit is not overloaded. For ignition problems‚ check the igniter or ignition system for damage. Consult the manual for resetting the control board if necessary. Addressing these issues promptly can restore optimal performance. Always follow safety guidelines and manufacturer recommendations for repairs. If problems persist‚ contact a certified technician or Englander support for assistance.

4.2 Understanding Error Codes
Englander pellet stoves display error codes to help diagnose issues. Common codes include E1 (igniter failure)‚ E2 (temperature sensor malfunction)‚ and E3 (low or no airflow). E1 indicates the igniter isn’t lighting the pellets; check for damage or dirt buildup. E2 suggests a faulty temperature sensor; ensure proper connections and replace if necessary. E3 signals poor venting or blockages; inspect and clean the venting system. Other codes like E4 (auger jam) or E5 (control board issues) require checking the auger for obstructions or resetting the control board. Refer to the error code chart in your manual for specific solutions. If issues persist‚ contact Englander customer support or a certified technician. Regular maintenance can help prevent these errors and ensure safe‚ efficient operation. Always follow safety guidelines when troubleshooting or repairing your stove.

Technical Specifications and Warranty
This section outlines the key specifications‚ such as heating capacity‚ fuel type‚ and efficiency‚ as well as warranty details‚ including duration and coverage terms‚ for Englander pellet stoves.
5.1 Technical Specifications of Models
Englander pellet stoves are designed with advanced features to ensure high efficiency and performance. Key specifications include heating capacity ranging from 20‚000 to 50‚000 BTUs‚ depending on the model. These stoves typically operate on premium-grade wood pellets‚ offering an efficiency rating of up to 85%. The hopper capacity varies between 35 to 60 pounds‚ allowing extended burn times. Dimensions are compact‚ with most models measuring approximately 24-30 inches in width and 35-40 inches in height. They feature programmable thermostats‚ automatic ignition‚ and variable speed blowers for precise temperature control. Certified by agencies like EPA and UL‚ Englander pellet stoves meet strict safety and emissions standards. Always refer to the specific model’s manual for precise technical details‚ as specifications may vary slightly between models.
5.2 Warranty Terms and Conditions
Englander pellet stoves are backed by a comprehensive warranty program to ensure customer satisfaction. The standard warranty includes a 5-year coverage on the heat exchanger and combustion chamber‚ while other components like electrical parts and igniter are covered for 1 year. Labor costs for repairs are typically covered for the first year. To maintain warranty validity‚ the stove must be installed by a qualified technician and operated according to the manufacturer’s guidelines. Registration of the product within 30 days of purchase is required to activate the warranty. Any modifications or use of unauthorized parts will void the warranty. For detailed terms and conditions‚ refer to the warranty section in the manual or contact Englander customer support. Proper maintenance and adherence to operation guidelines are essential to uphold warranty coverage.